
Categories
DIYPublished July 11, 2025
Grow Up: How to Build a DIY Cattle Panel Arch Trellis for Your Garden

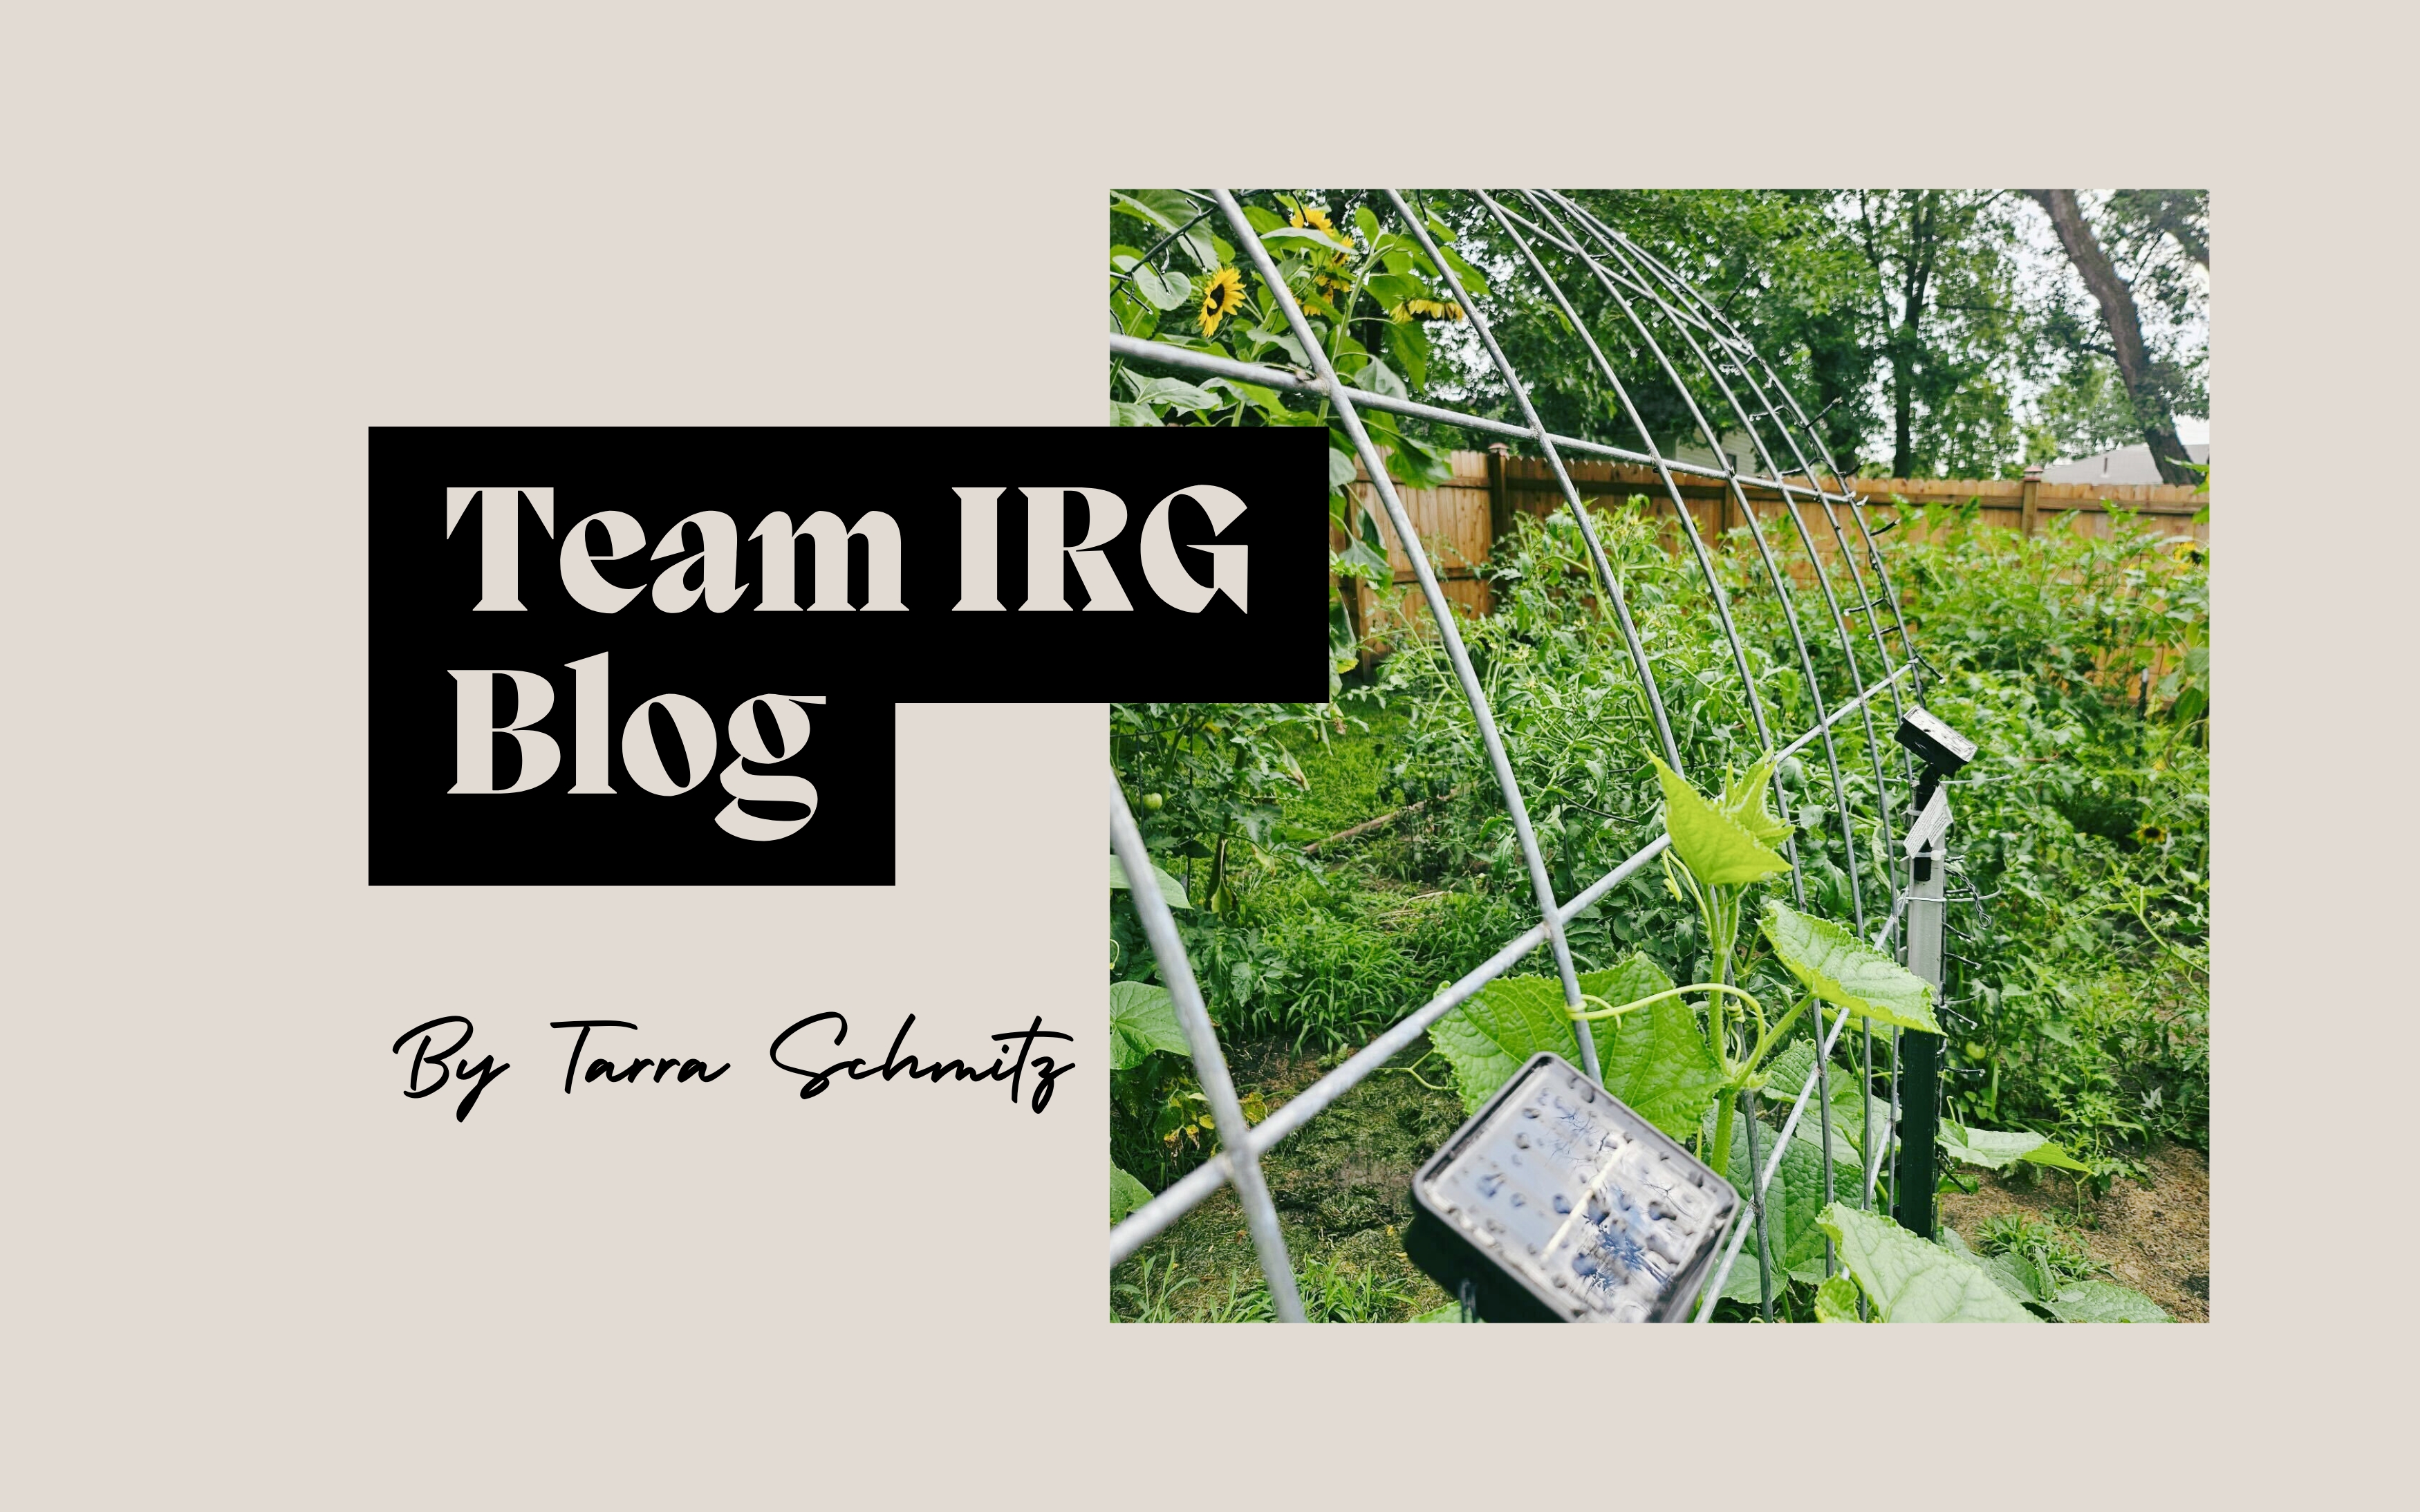
Looking to add some vertical magic to your garden without breaking the bank? A cattle panel arch trellis might be just the project you didn’t know you needed. Not only is it a striking garden feature, but it also adds functionality by saving space and supporting climbing vegetables, fruits, or flowers. Plus, it’s surprisingly simple to build—even if you’re not particularly handy.
Why Use a Cattle Panel?
Cattle panels are a durable and budget-friendly option often found at farm supply stores. They’re typically 16 feet long and about 4 to 5 feet tall, made of galvanized steel, and sturdy enough to support everything from cucumbers to gourds. When bent into an arch, they create a beautiful tunnel effect that can double as a shaded walkway or focal point in your garden.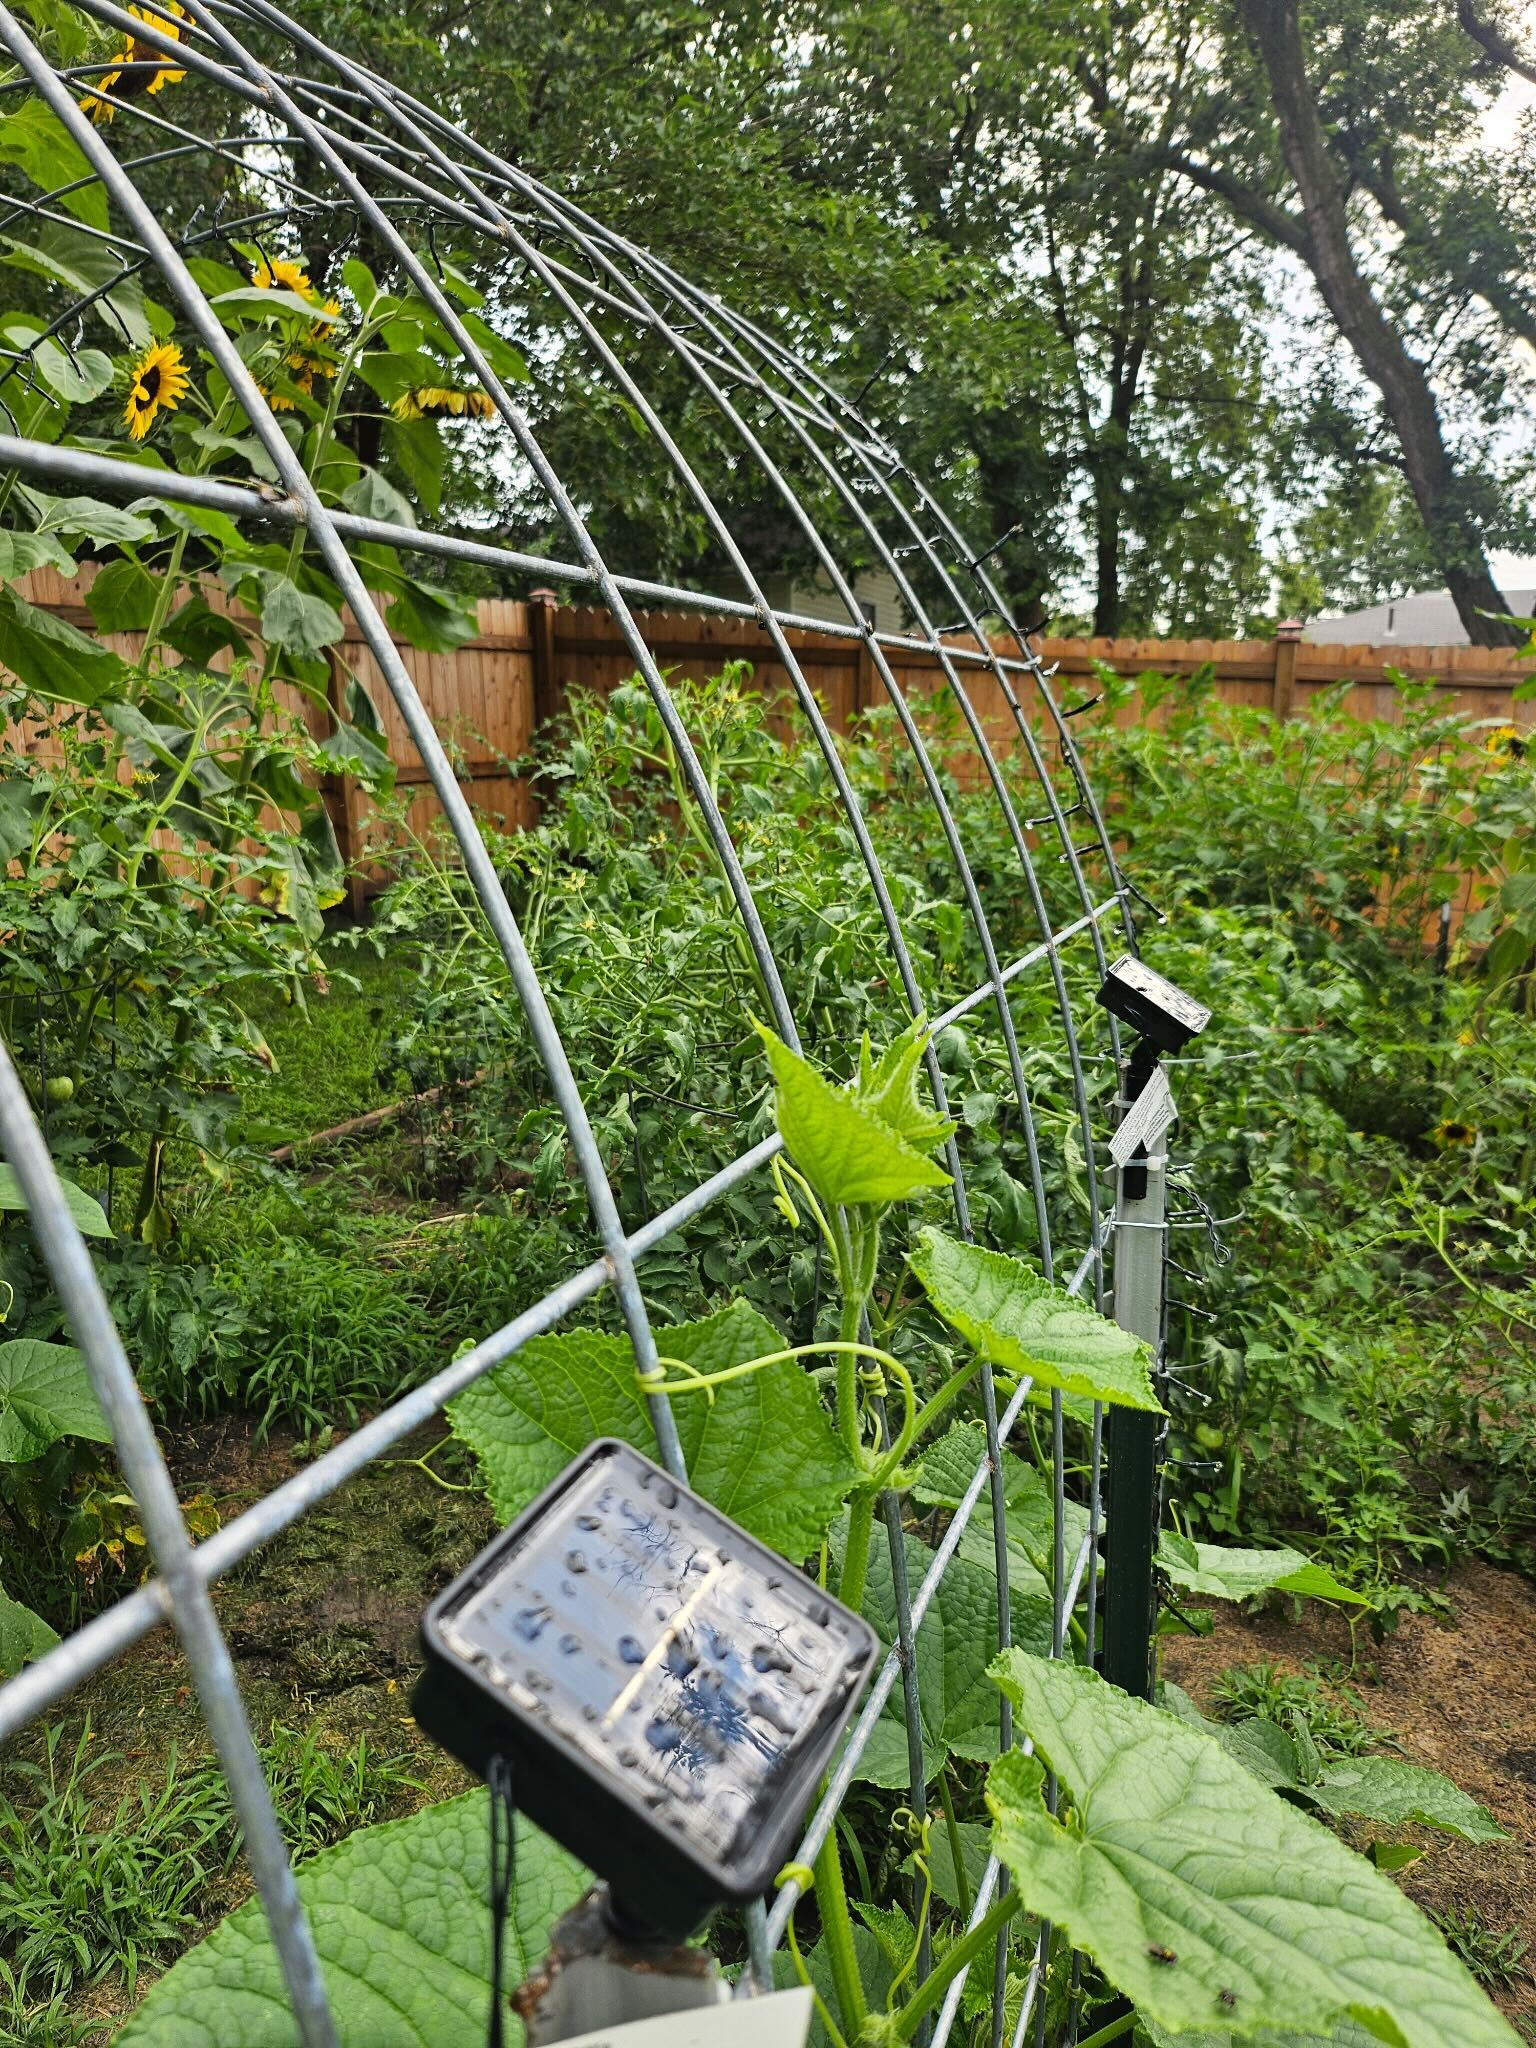
What You’ll Need:
- 1 cattle panel (16 ft x 50 in is common)
- 4 metal T-posts or U-posts (6 ft tall)
- Zip ties or wire
- Hammer or post driver
- Gloves
Optional:
- Landscape fabric or mulch for the base. We just empty our mower bag into the garden to help keep weeds down – this is a clean and simple option as well, especially if you like to garden organically like we do.
- Climbing plants like pole beans, sweet peas, tomatoes, or squash. We chose cucumbers, and they thrive on the trellis without the need of mesh like when growing melons, etc.
- Simple, cheap solar powered twinkle lights to keep the magic going when the sun goes down.
Step-by-Step Instructions:
1. Choose Your Location:
Pick a spot in your garden that gets plenty of sun and has room for the full arch. Ideally, the space should be about 4–6 feet wide depending on how tall and curved you want your arch to be. We placed our arch at the very front of the garden, centered in the middle to give the appearance of a tunnel into the garden. How magical!
2. Pound in the Posts:
Using a post driver or mallet, pound two T-posts into the ground on each side of your planned arch, spacing them about 4 feet apart on either side. Make sure they’re straight and firmly in the ground—these will anchor your trellis.
3. Bend and Set the Panel:
With help from a friend (it’s definitely easier with two people), gently bend the cattle panel into an arch and place each end inside the T-posts on either side. The tension from the bend will hold the arch in place, but zip ties or wire will secure it to the posts.
4. Secure and Check Stability:
Use zip ties or sturdy garden wire to attach the panel firmly to each T-post. Once it feels secure and stable, give it a good shake to make sure it’s not going anywhere.
5. Plant and Enjoy!
Plant your favorite climbing veggies or flowers at the base of each side. As they grow, they’ll naturally climb the trellis, creating a green tunnel that adds both charm and functionality to your garden space.
Final Tips:
- Don’t skip the gloves! Cattle panel edges can be sharp, especially when bending.
- Add some string or netting if your plants need extra help gripping.
- If you’re growing heavier produce like melons or pumpkins, consider using slings or mesh to support the fruit as it develops.
- Cheap, solar powered twinkle lights add just the right amount of character on a budget. Also, very low maintenance! No need to replace batteries or plug and unplug cords for safety.
- If you have children, get them involved! Our ten-year-old daughter as a fairy garden underneath the trellis that she loves to go out and rearrange over and over. What’s better than a beautiful, cheap, DIY project that keeps your kids busy and outdoors for hours as well?!
Wrap-Up:
A cattle panel arch trellis is an easy weekend project that brings big rewards—vertical growing space, garden beauty, and an eye-catching structure that makes your garden feel more intentional and inviting. Whether you're growing cucumbers or creating a
flower tunnel, this DIY is as practical as it is picturesque.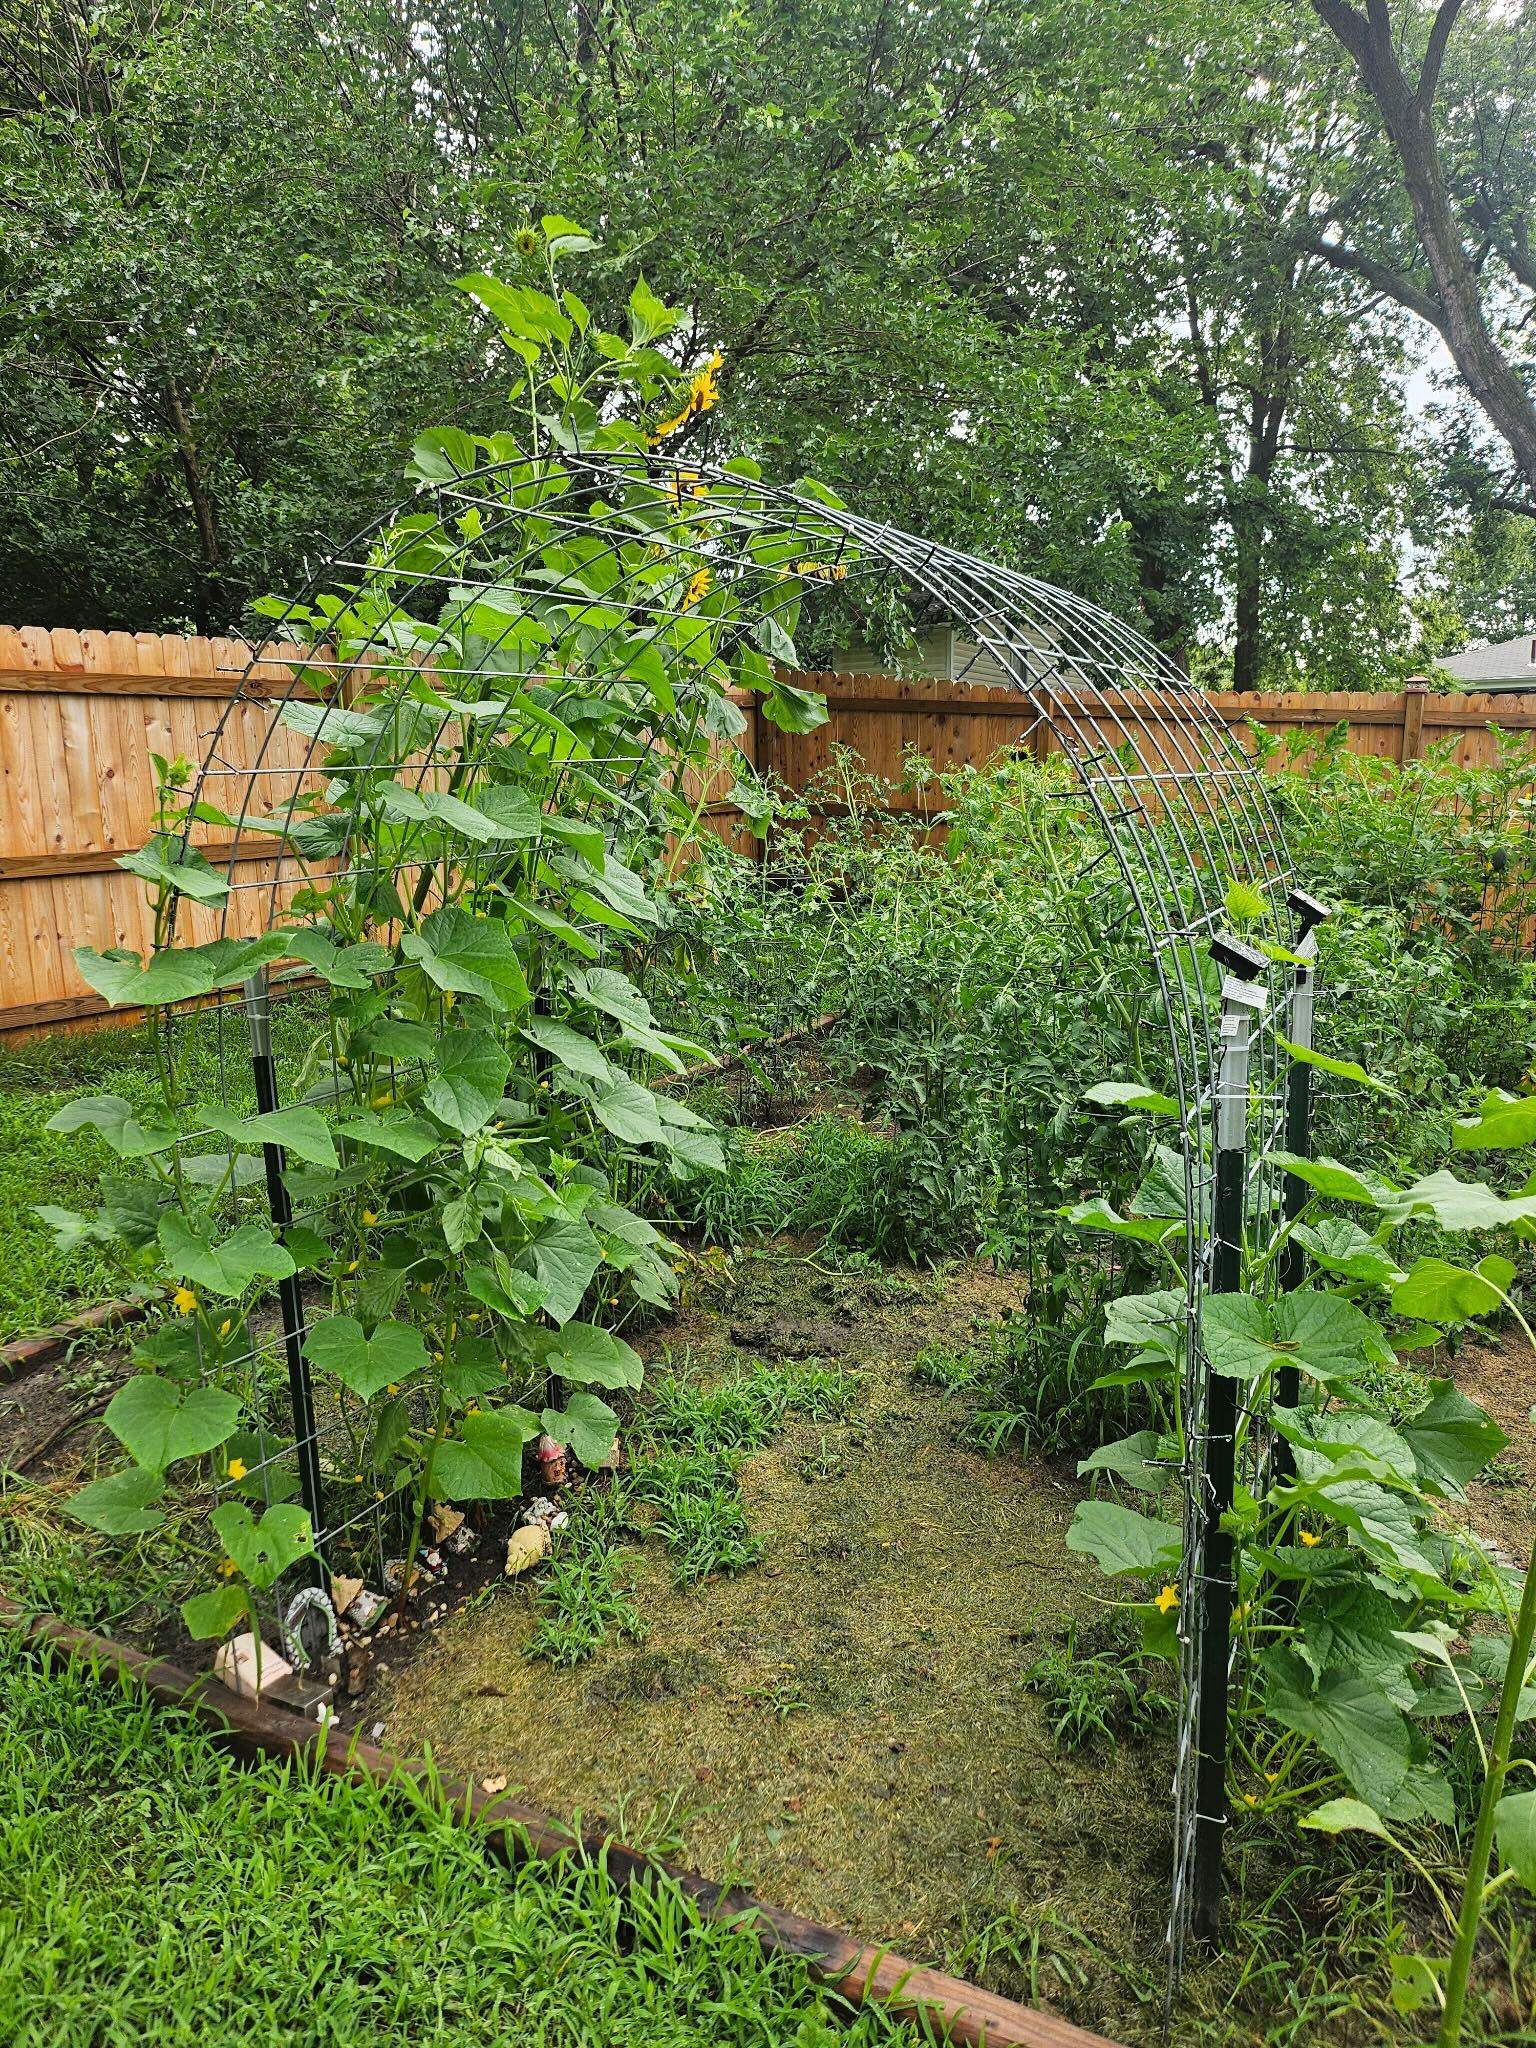

TEAM IRG
| TEAM IRG | Keller Williams Greater Des Moines
or another way