
Categories
DIYPublished December 4, 2025
Create a Stunning DIY Gallery Wall on Any Budget

There’s nothing that adds personality to a home faster than a well-designed gallery wall. Whether you're showing off family photos, travel memories, or quirky art prints, a gallery wall is the perfect way to fill a blank space with style—and you can do it without spending much at all.
The great news? Building your own gallery wall is far easier than it looks. With a little planning, a few supplies, and maybe a cup of coffee, you can transform any wall in an afternoon.
Step 1: Pick the Perfect Spot
A gallery wall works almost anywhere:
- Hallways
- Staircases
- Behind a sofa
- Above a console table
- In a bedroom or office
Choose a space that feels a little plain or underused. You’ll be surprised how much life a cluster of frames can bring to the area.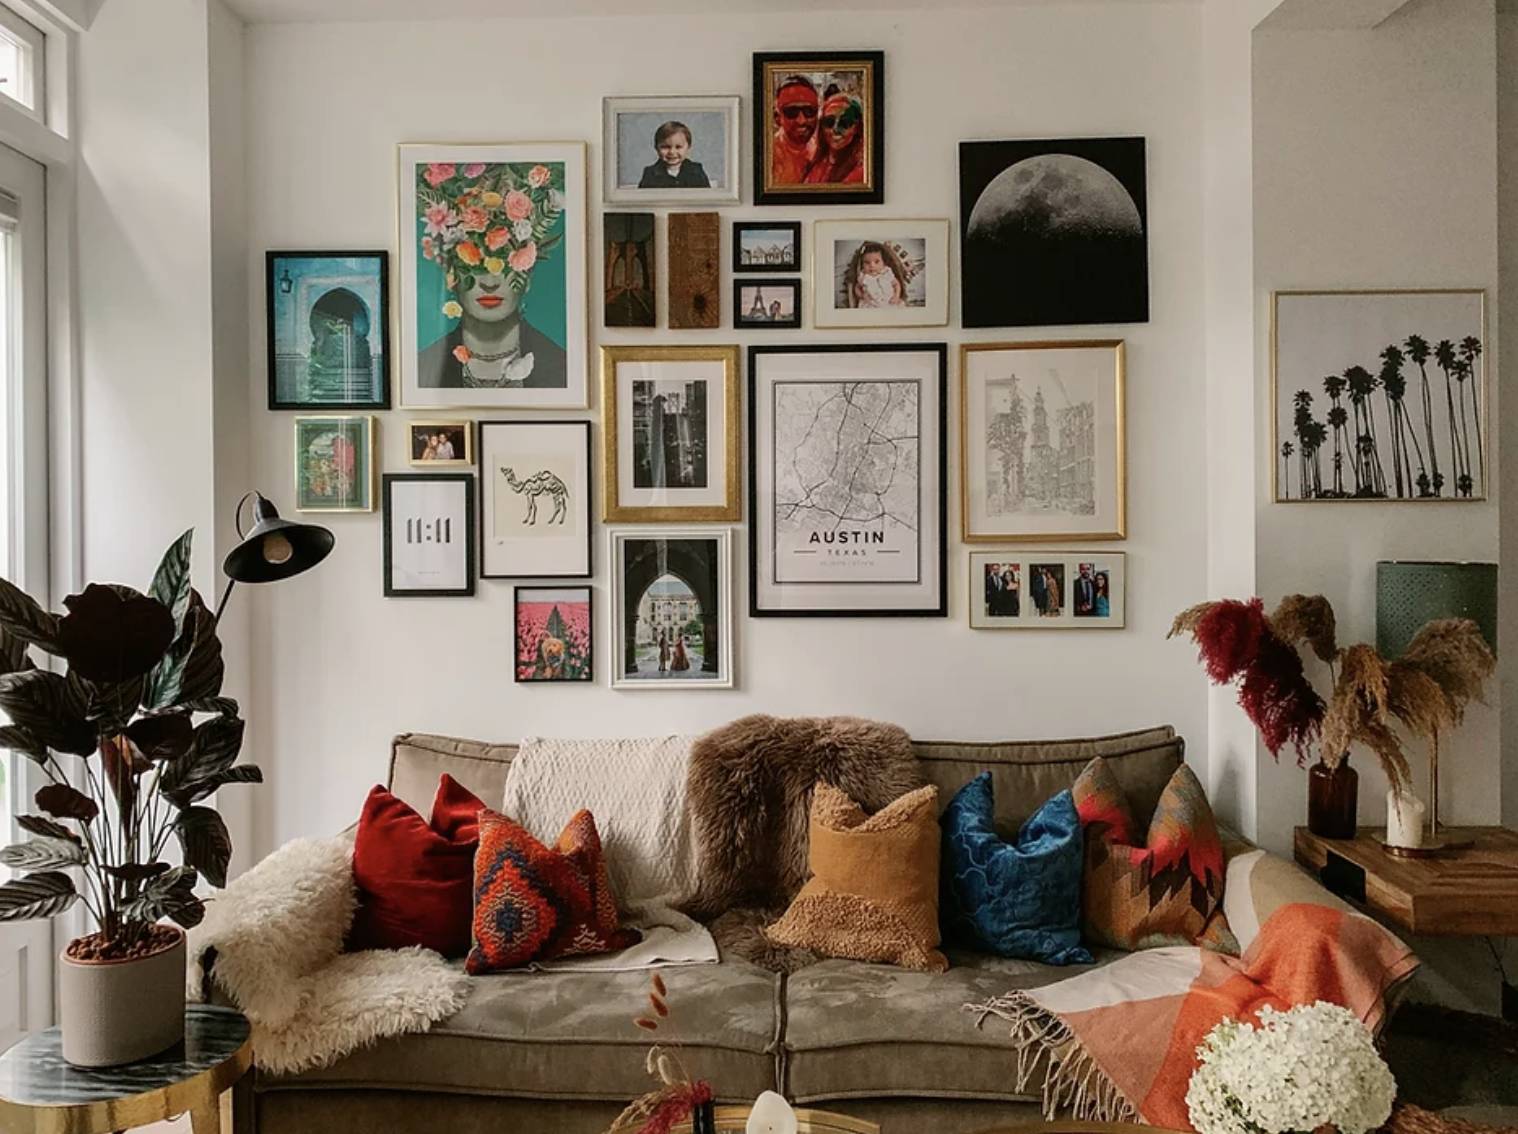
Step 2: Gather Your Frames and Art
Your gallery wall doesn’t need matching frames (unless you want it to!). Mix metals, woods, shapes, and sizes for an eclectic look. You can fill frames with:
- Family photos
- Art prints
- Children’s artwork
- Quotes
- Travel souvenirs
- Postcards or greeting cards you’ve saved
Tip: Thrift stores, dollar stores, and clearance aisles are gold mines for inexpensive frames.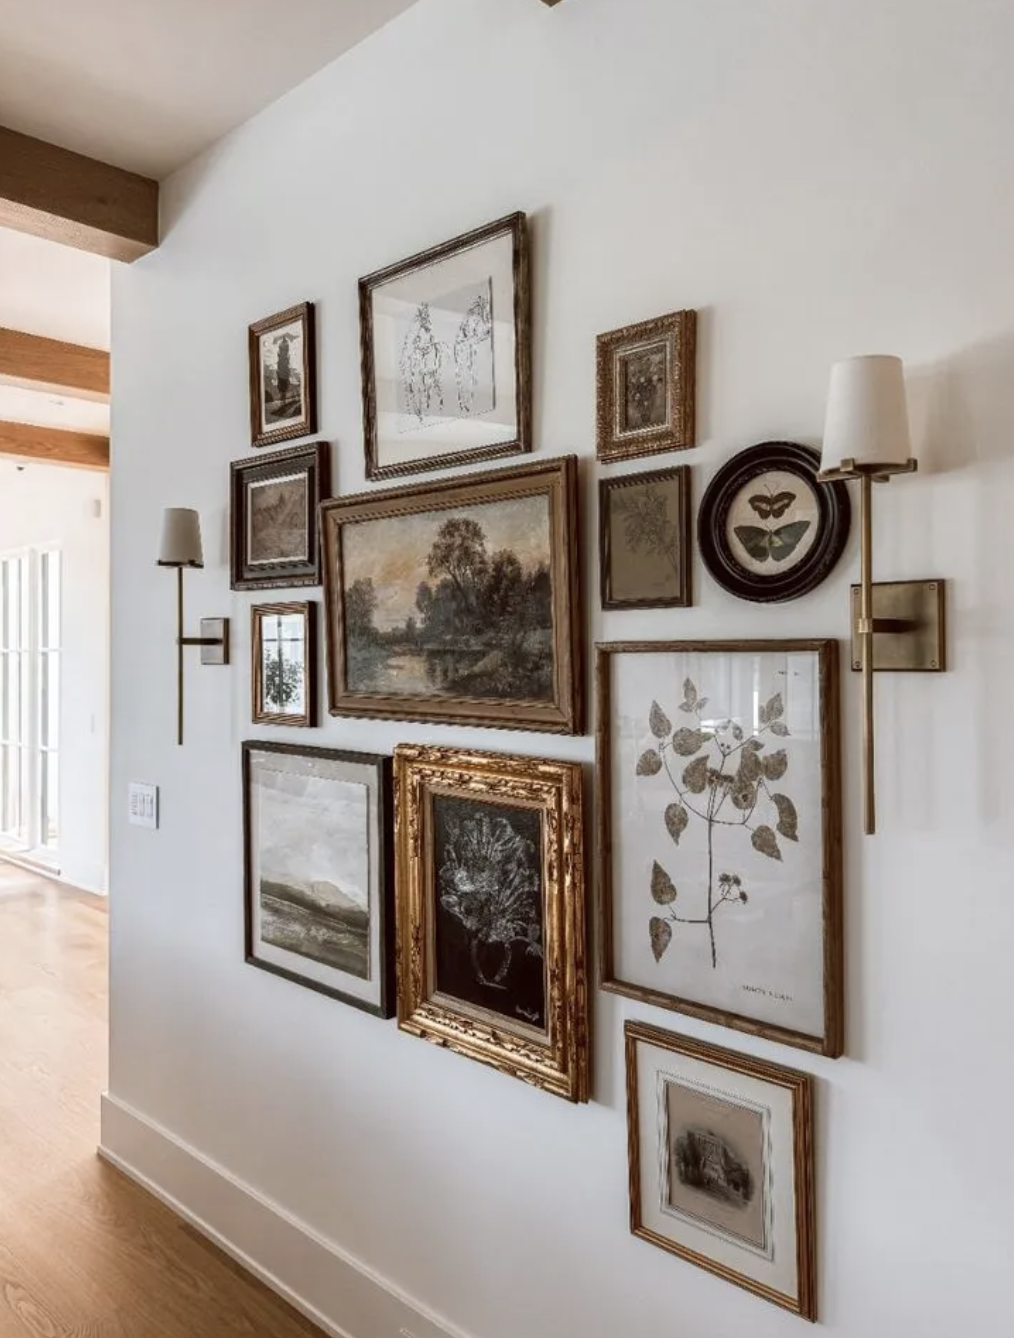
Step 3: Plan Your Layout on the Floor
Before you make any holes, lay all your frames on the floor and play with different arrangements. A gallery wall looks best when:
- The spacing between frames is consistent (1–2 inches works well)
- There’s a mix of vertical and horizontal frames
- The largest piece anchors the layout
Snap a photo once you like the design—this becomes your guide.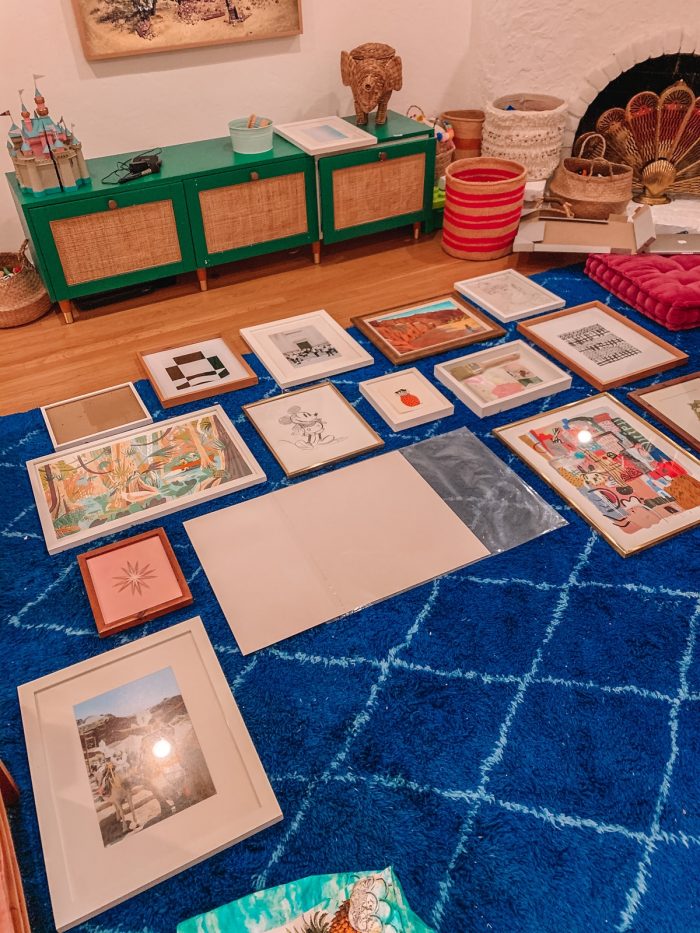
Step 4: Trace and Tape
This trick makes hanging a breeze:
1. Trace each frame onto kraft paper or wrapping paper.
2. Cut out the shapes.
3. Tape them on the wall using painter’s tape based on your layout.
4. Step back and adjust as needed until it feels balanced.
This avoids unnecessary holes and helps you visualize the final look.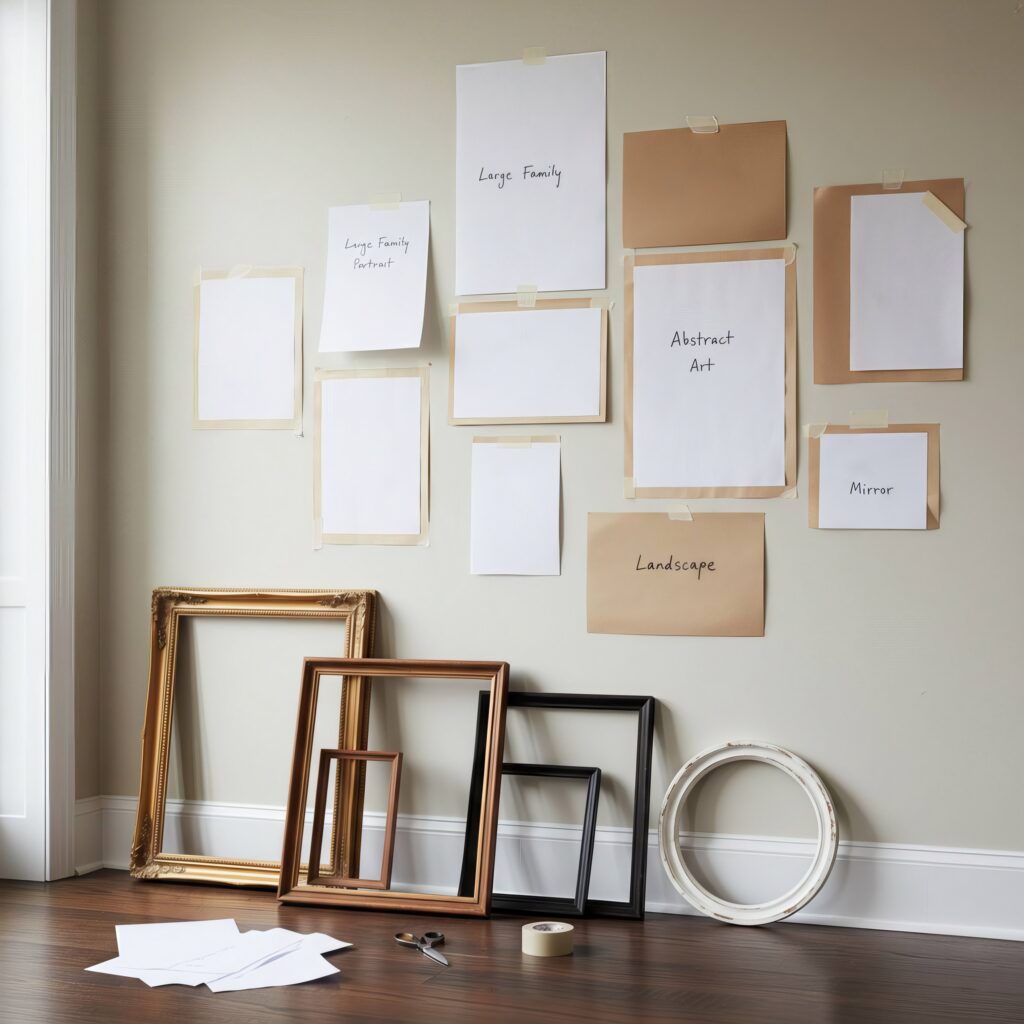
Step 5: Hang Your Frames
Once you’re happy with the layout:
- Mark where each nail or hook should go
- Hang the pieces one by one
- Make small adjustments for straightness as you go
If you’re renting or avoiding holes, try Command strips—they work great for lightweight frames.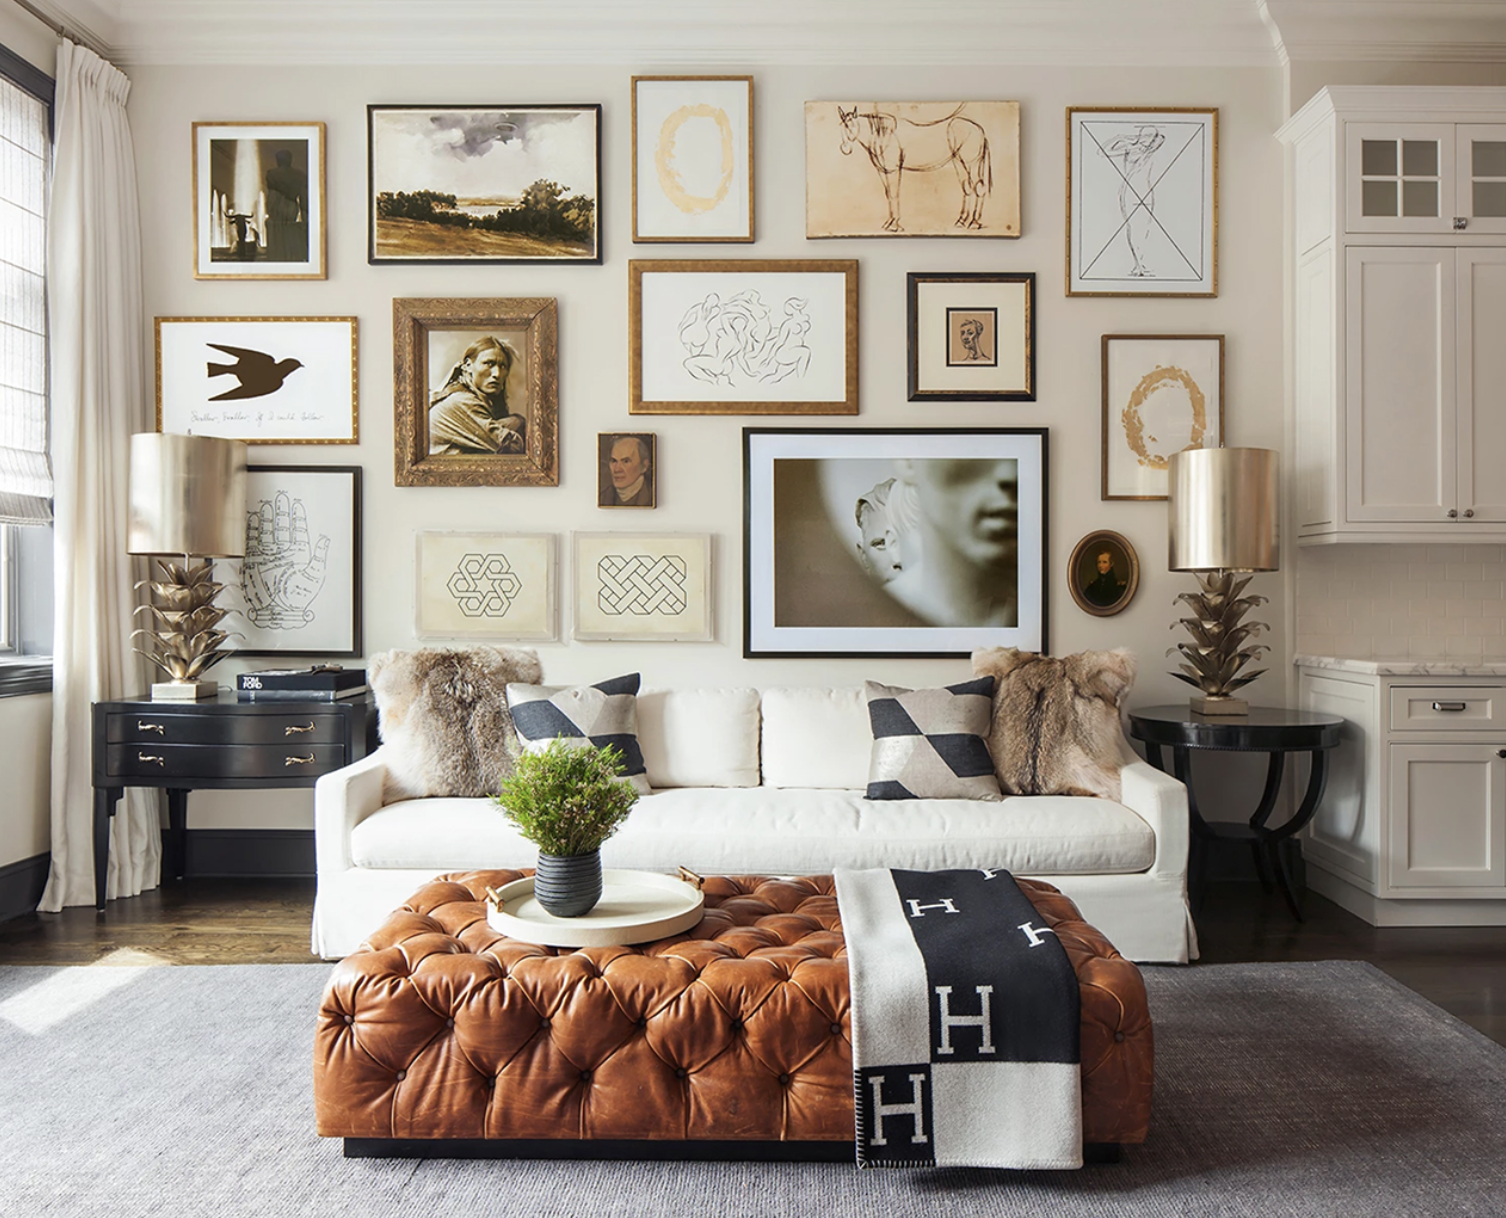
Step 6: Style, Adjust, and Enjoy
Sometimes a gallery wall needs a little tweaking once everything is up. Adjust spacing, swap out an art print, or add a small decorative piece like a letter, mirror, or plant hanger. The best part about gallery walls is that they can evolve. Add pieces over time or swap artwork with the seasons.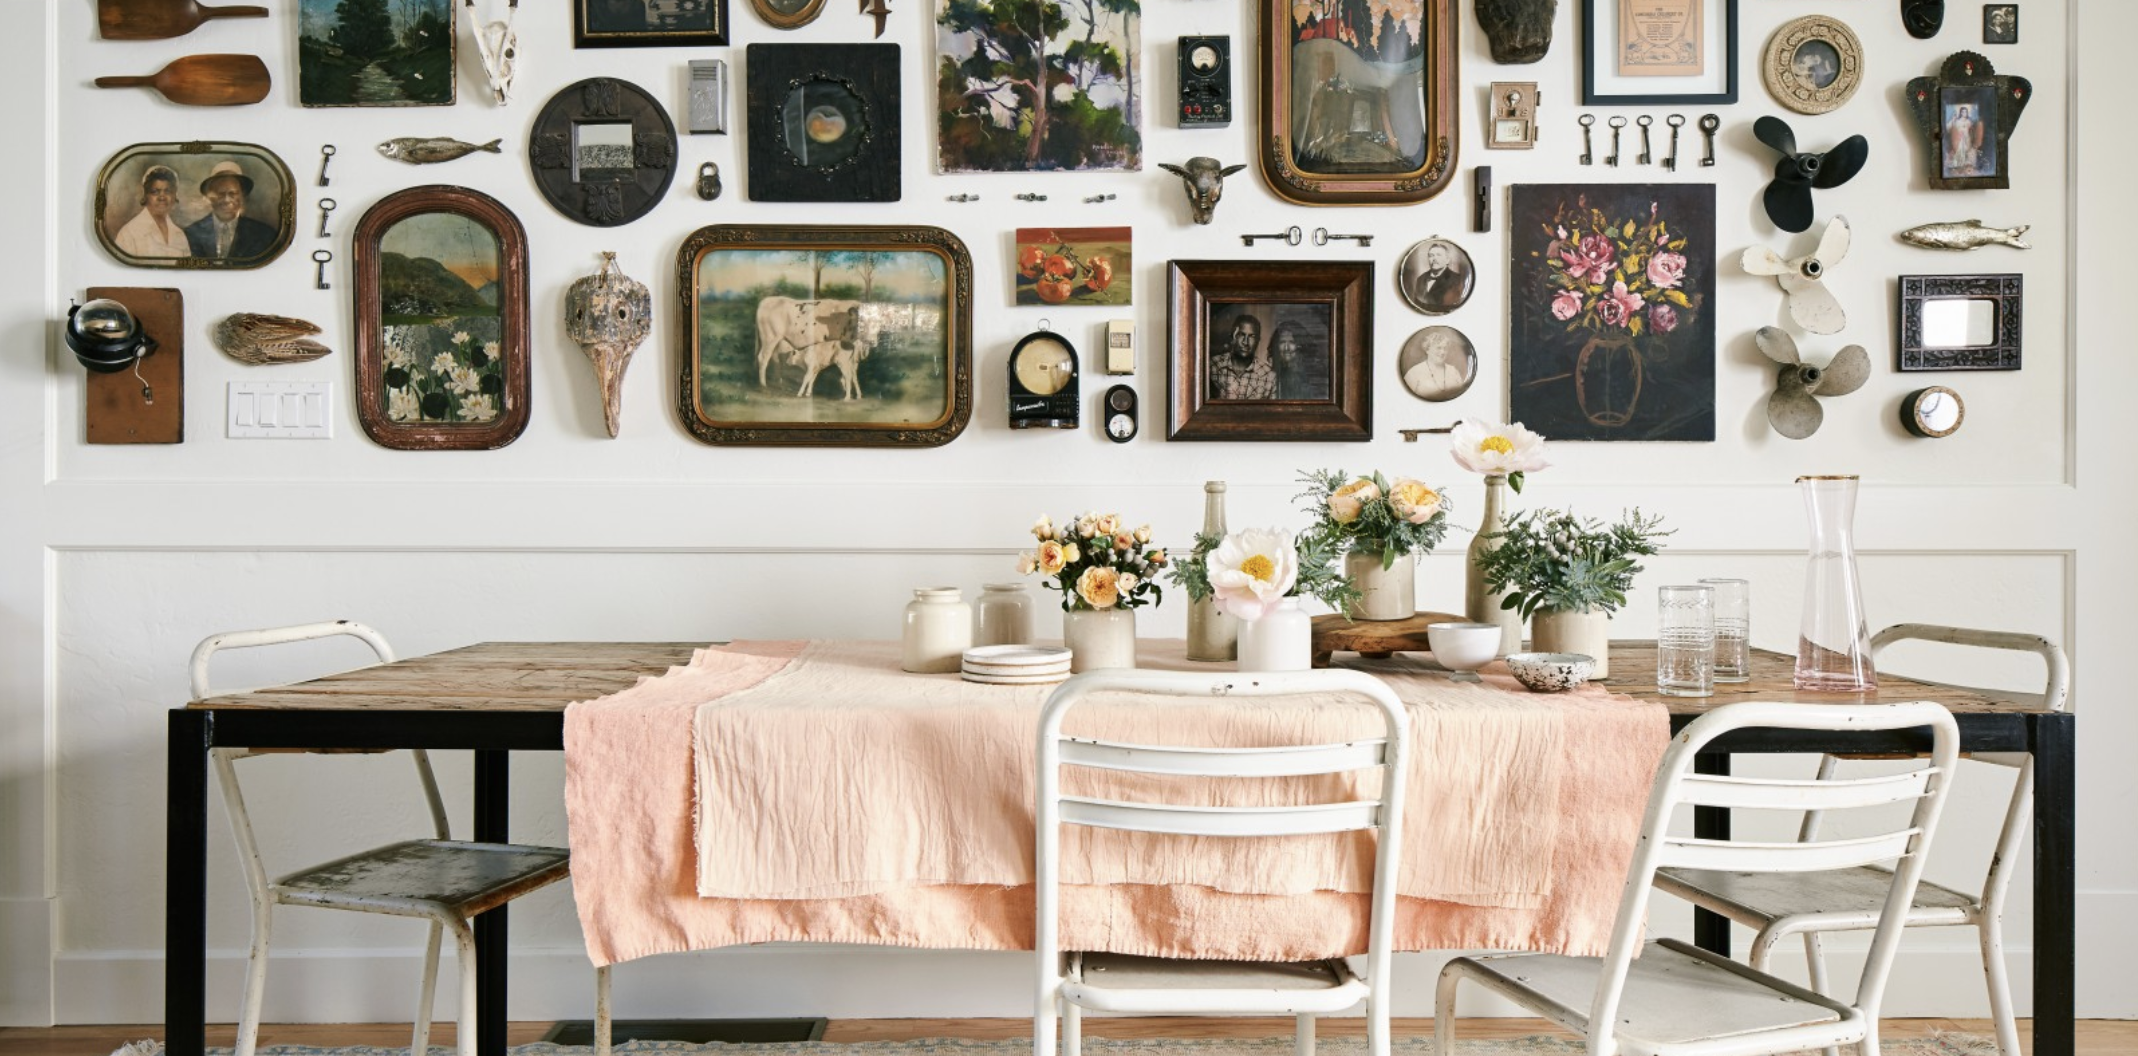
Final Thoughts
A DIY gallery wall turns a simple stretch of wall into a story—your story. It’s creative, customizable, and surprisingly inexpensive. Whether you prefer a polished, symmetrical
look or a laid-back eclectic vibe, your gallery wall becomes a beautiful reflection of the life lived inside your home.

TEAM IRG
| TEAM IRG | Keller Williams Greater Des Moines
or another way