
Categories
DIYPublished December 30, 2025
Cheap & Easy Bathroom Upgrade: Peel-and-Stick Tile That Anyone Can Do


If your bathroom is feeling outdated but a full remodel isn’t in the budget (or your schedule), peel-and-stick tile might be the easiest upgrade you’ll ever tackle. This DIY-friendly option has come a long way in recent years—offering stylish designs, realistic finishes, and a surprisingly durable result without the mess or cost of traditional tile.
Whether you’re updating a powder room, guest bath, or even a rental, peel-and-stick tile can completely transform the space in just a few hours.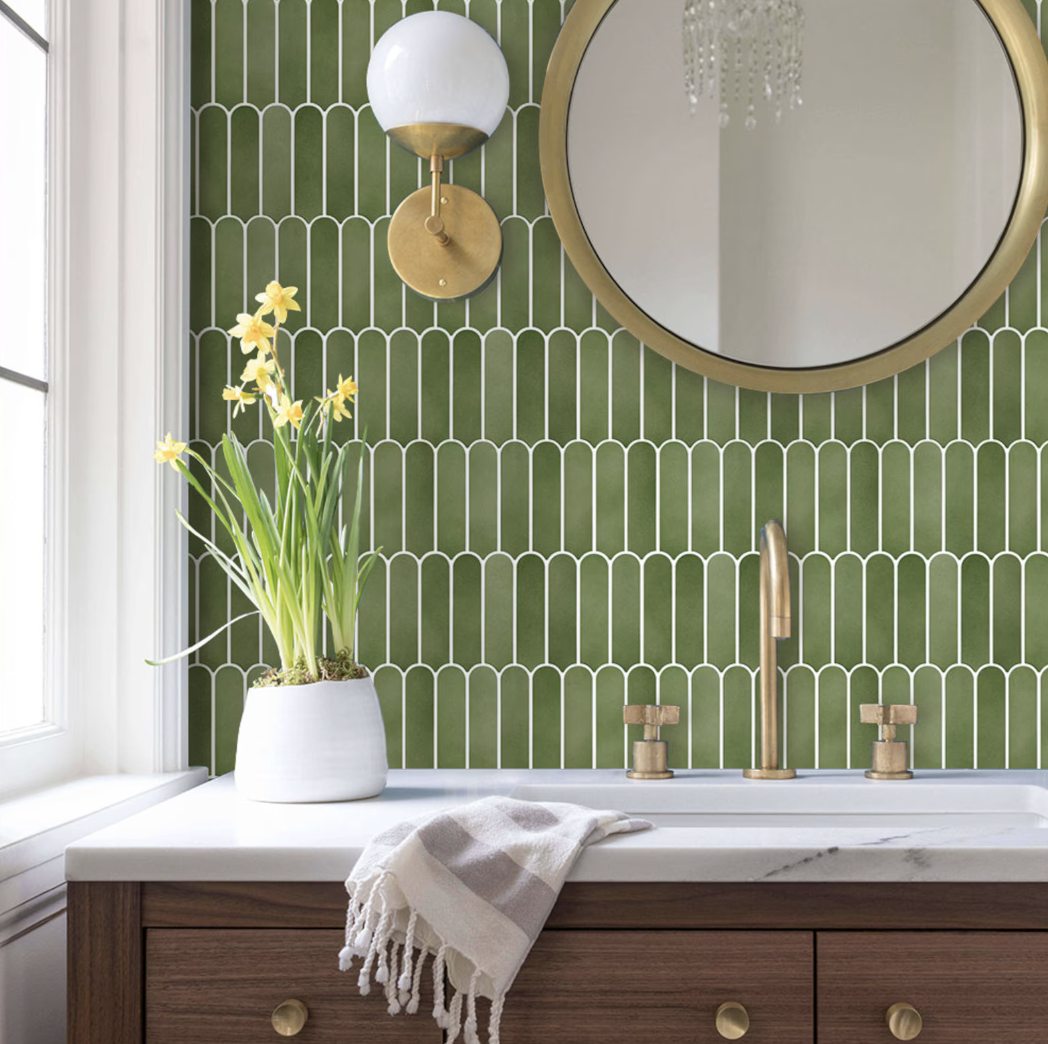
Why Peel-and-Stick Tile Works So Well in Bathrooms
Bathrooms are typically smaller spaces, which makes them perfect for quick, budget-friendly DIY projects. Peel-and-stick tile is especially appealing because:
- It’s affordable – Most options range from a few dollars per square foot, making it far cheaper than ceramic tile and installation.
- No special tools required – No tile saws, thinset, or grout. Just a utility knife, measuring tape, and a little patience.
- Beginner-friendly – You don’t need prior DIY experience to get great results.
- Instant impact – A new floor or backsplash can make the entire bathroom feel refreshed.
Many modern peel-and-stick tiles are also water-resistant, making them suitable for bathroom floors, backsplashes, and accent walls.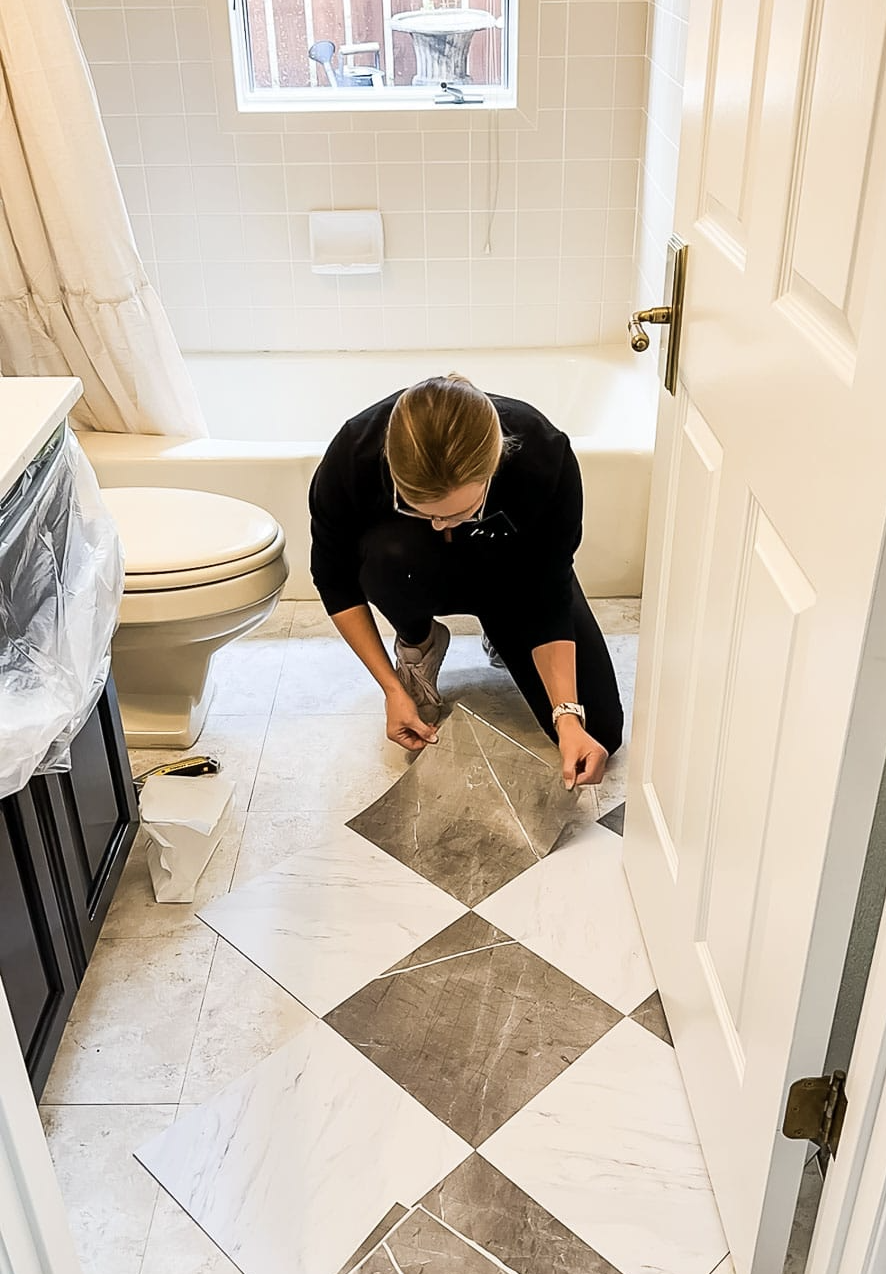
Where to Use Peel-and-Stick Tile in a Bathroom
This versatile material works in more places than you might expect:
- Bathroom floors for an instant style upgrade
- Vanity backsplashes to add texture and interest
- Accent walls behind mirrors or shelving
- Laundry areas connected to bathrooms
While peel-and-stick tile isn’t ideal for inside showers or areas with constant standing water, it holds up well in standard bathroom conditions when properly installed.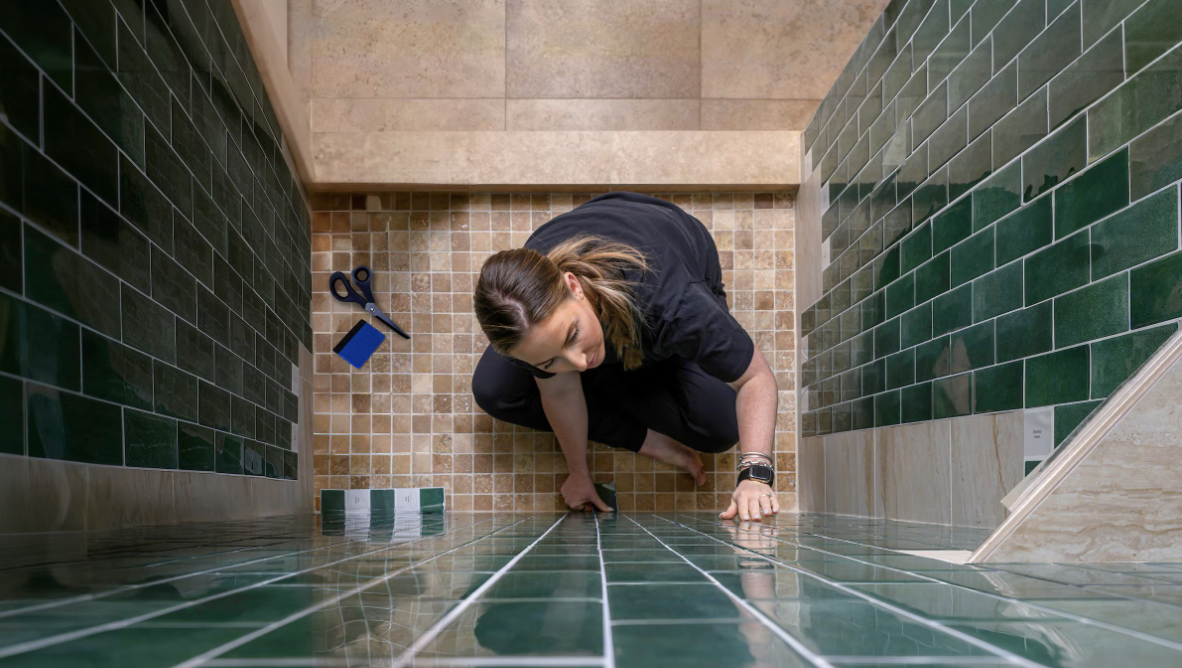
How to Prep for Success (Don’t Skip This Step!)
The key to a long-lasting peel-and-stick tile project is proper prep. The surface underneath needs to be:
- Clean and completely dry
- Smooth and flat (no peeling vinyl or loose tiles)
- Free of dust, grease, or residue
Most peel-and-stick tile can be installed directly over existing vinyl, linoleum, or sealed concrete. A quick wipe-down with a gentle cleaner and allowing it to dry fully can make all the difference.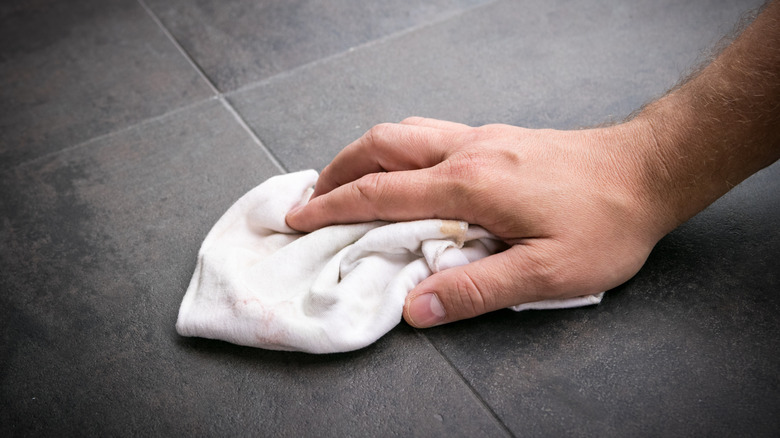
Simple Installation Tips
Even though peel-and-stick tile is easy, these tips will help your project look polished:
- Dry-fit your tiles first to plan your layout and avoid awkward cuts.
- Start from the center or most visible wall and work outward.
- Use a utility knife for clean cuts around edges and fixtures.
- Press firmly as you go to ensure good adhesion.
- Roll or walk over the tiles once installed to help them bond to the surface.
Many brands recommend waiting 24 hours before heavy use to allow the adhesive to fully set.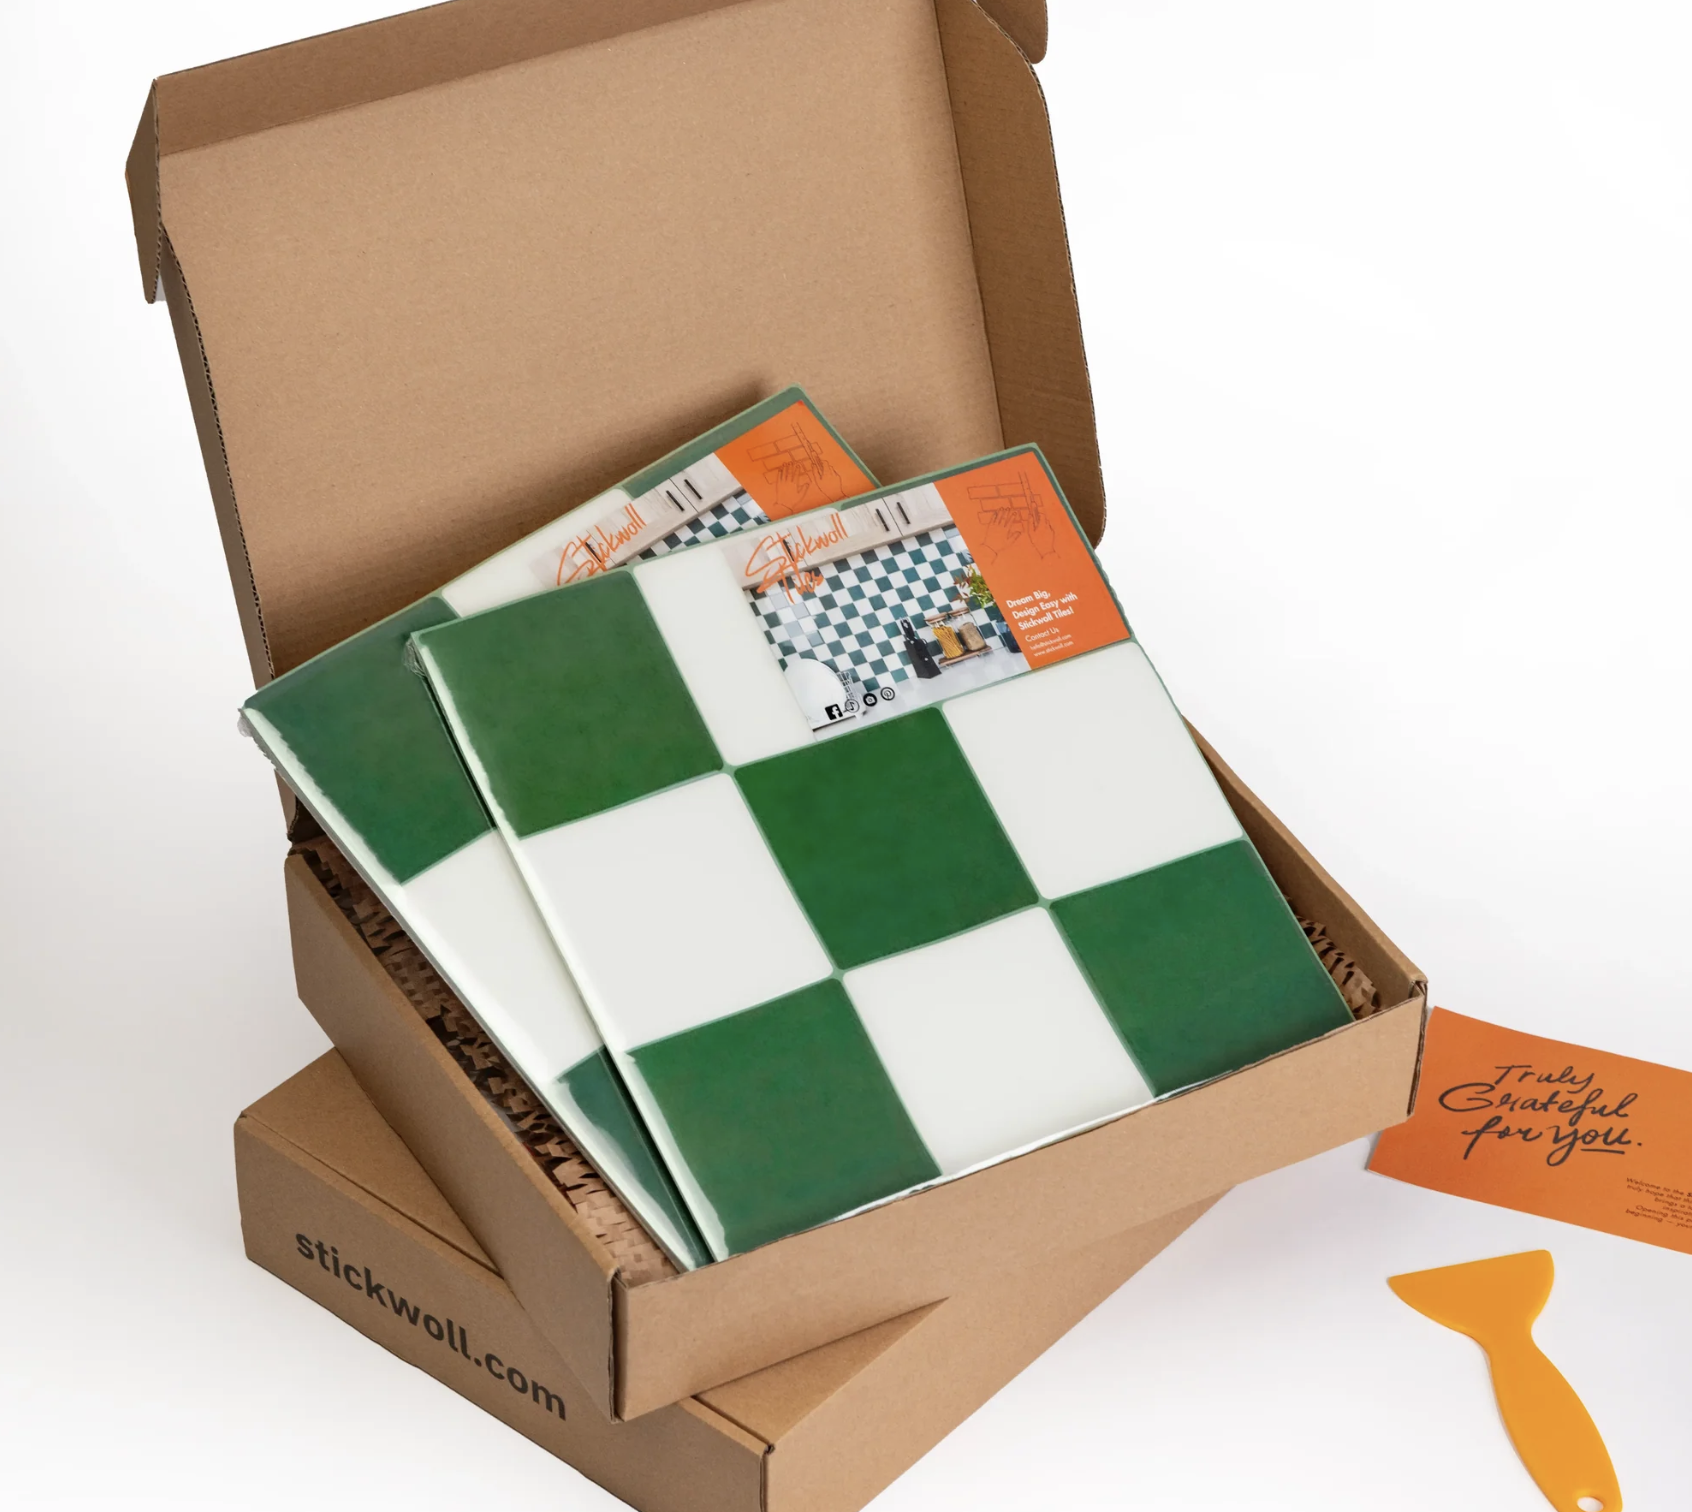
Budget-Friendly Style Options
Peel-and-stick tile now comes in a wide range of designs that mimic higher-end materials, including:
- Marble or stone looks
- Classic subway tile
- Patterned encaustic-style tiles
- Wood-look planks
This makes it easy to match your bathroom’s style—whether it’s modern, farmhouse, or traditional—without paying premium prices.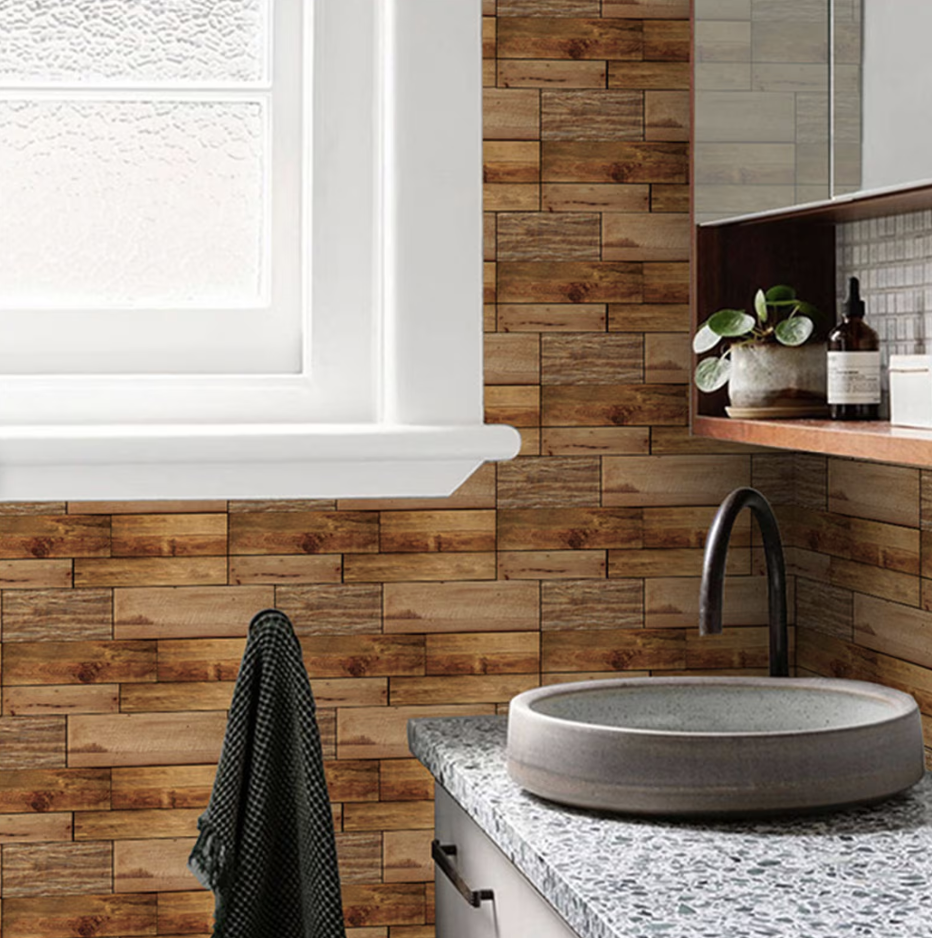
Perfect for Renters and Quick Refreshes
One of the biggest advantages of peel-and-stick tile is that it’s often removable, making it a popular choice for renters or homeowners who like to change things up. It’s also ideal if you’re preparing a home for sale and want a noticeable update without a major investment.
Final Thoughts
Peel-and-stick tile proves that you don’t need a big budget or professional installer to give your bathroom a fresh new look. With minimal tools, a free afternoon, and a little creativity, you can achieve a stylish upgrade that feels anything but temporary.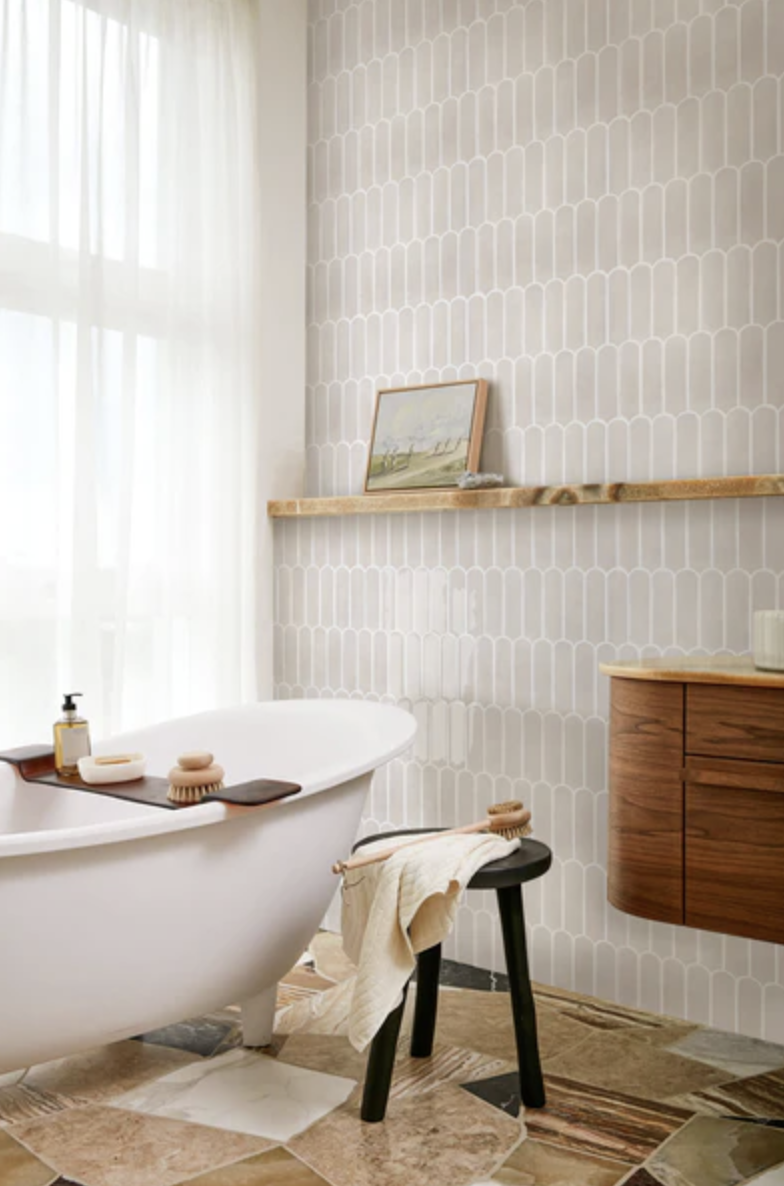
|


or another way